


Step 1: How much space are you working with?
The first thing you’ll want to consider is how much space you’re working with. This includes measuring the entire door opening, length and widthwise. If your door entry has a layer of trim or molding around the opening, you’ll want to make sure to measure to the outside of the molding so your barn door covers the entire opening + the layer of molding when it's slid shut.
If your door opening does not have a layer of molding or trim, record measurements from edge to edge vertically and horizontally.
You’ll also want to take into consideration the amount of clearance you have between the top of the door and the ceiling. Again, if your opening has molding or trim make sure to measure from the outside edge of the molding to the ceiling. This will determine the type of hardware you need and whether or not you need a low clearance option.
Record exact measurements for each distance to avoid making any mistakes when it comes to ordering your barn door.
Step 2: Finalizing Measurements
Once you’ve recorded the measurements for your door opening, it’s time to finalize your barn door measurements. We recommend adding at least four inches to the horizontal distance you’ve recorded, this will result in having two extra inches of barn door on each side of your opening to ensure complete closure when the door is closed.
If you're working with an opening WITHOUT molding or trim move on to the next section. If you’re working with an opening WITH molding or trim, we recommend subtracting half an inch from the vertical distance you recorded. This will ensure the barn door glides smoothly without any interference with the floor.
Step 3: Barn Door Track Measurements
Now that you have your barn door measurements, it’s time to measure for the barn door track. This part’s simple, take your horizontal measurement and times it by two. You want your barn door track to be double the width of your door to ensure full access to the door opening when the door is slid open.
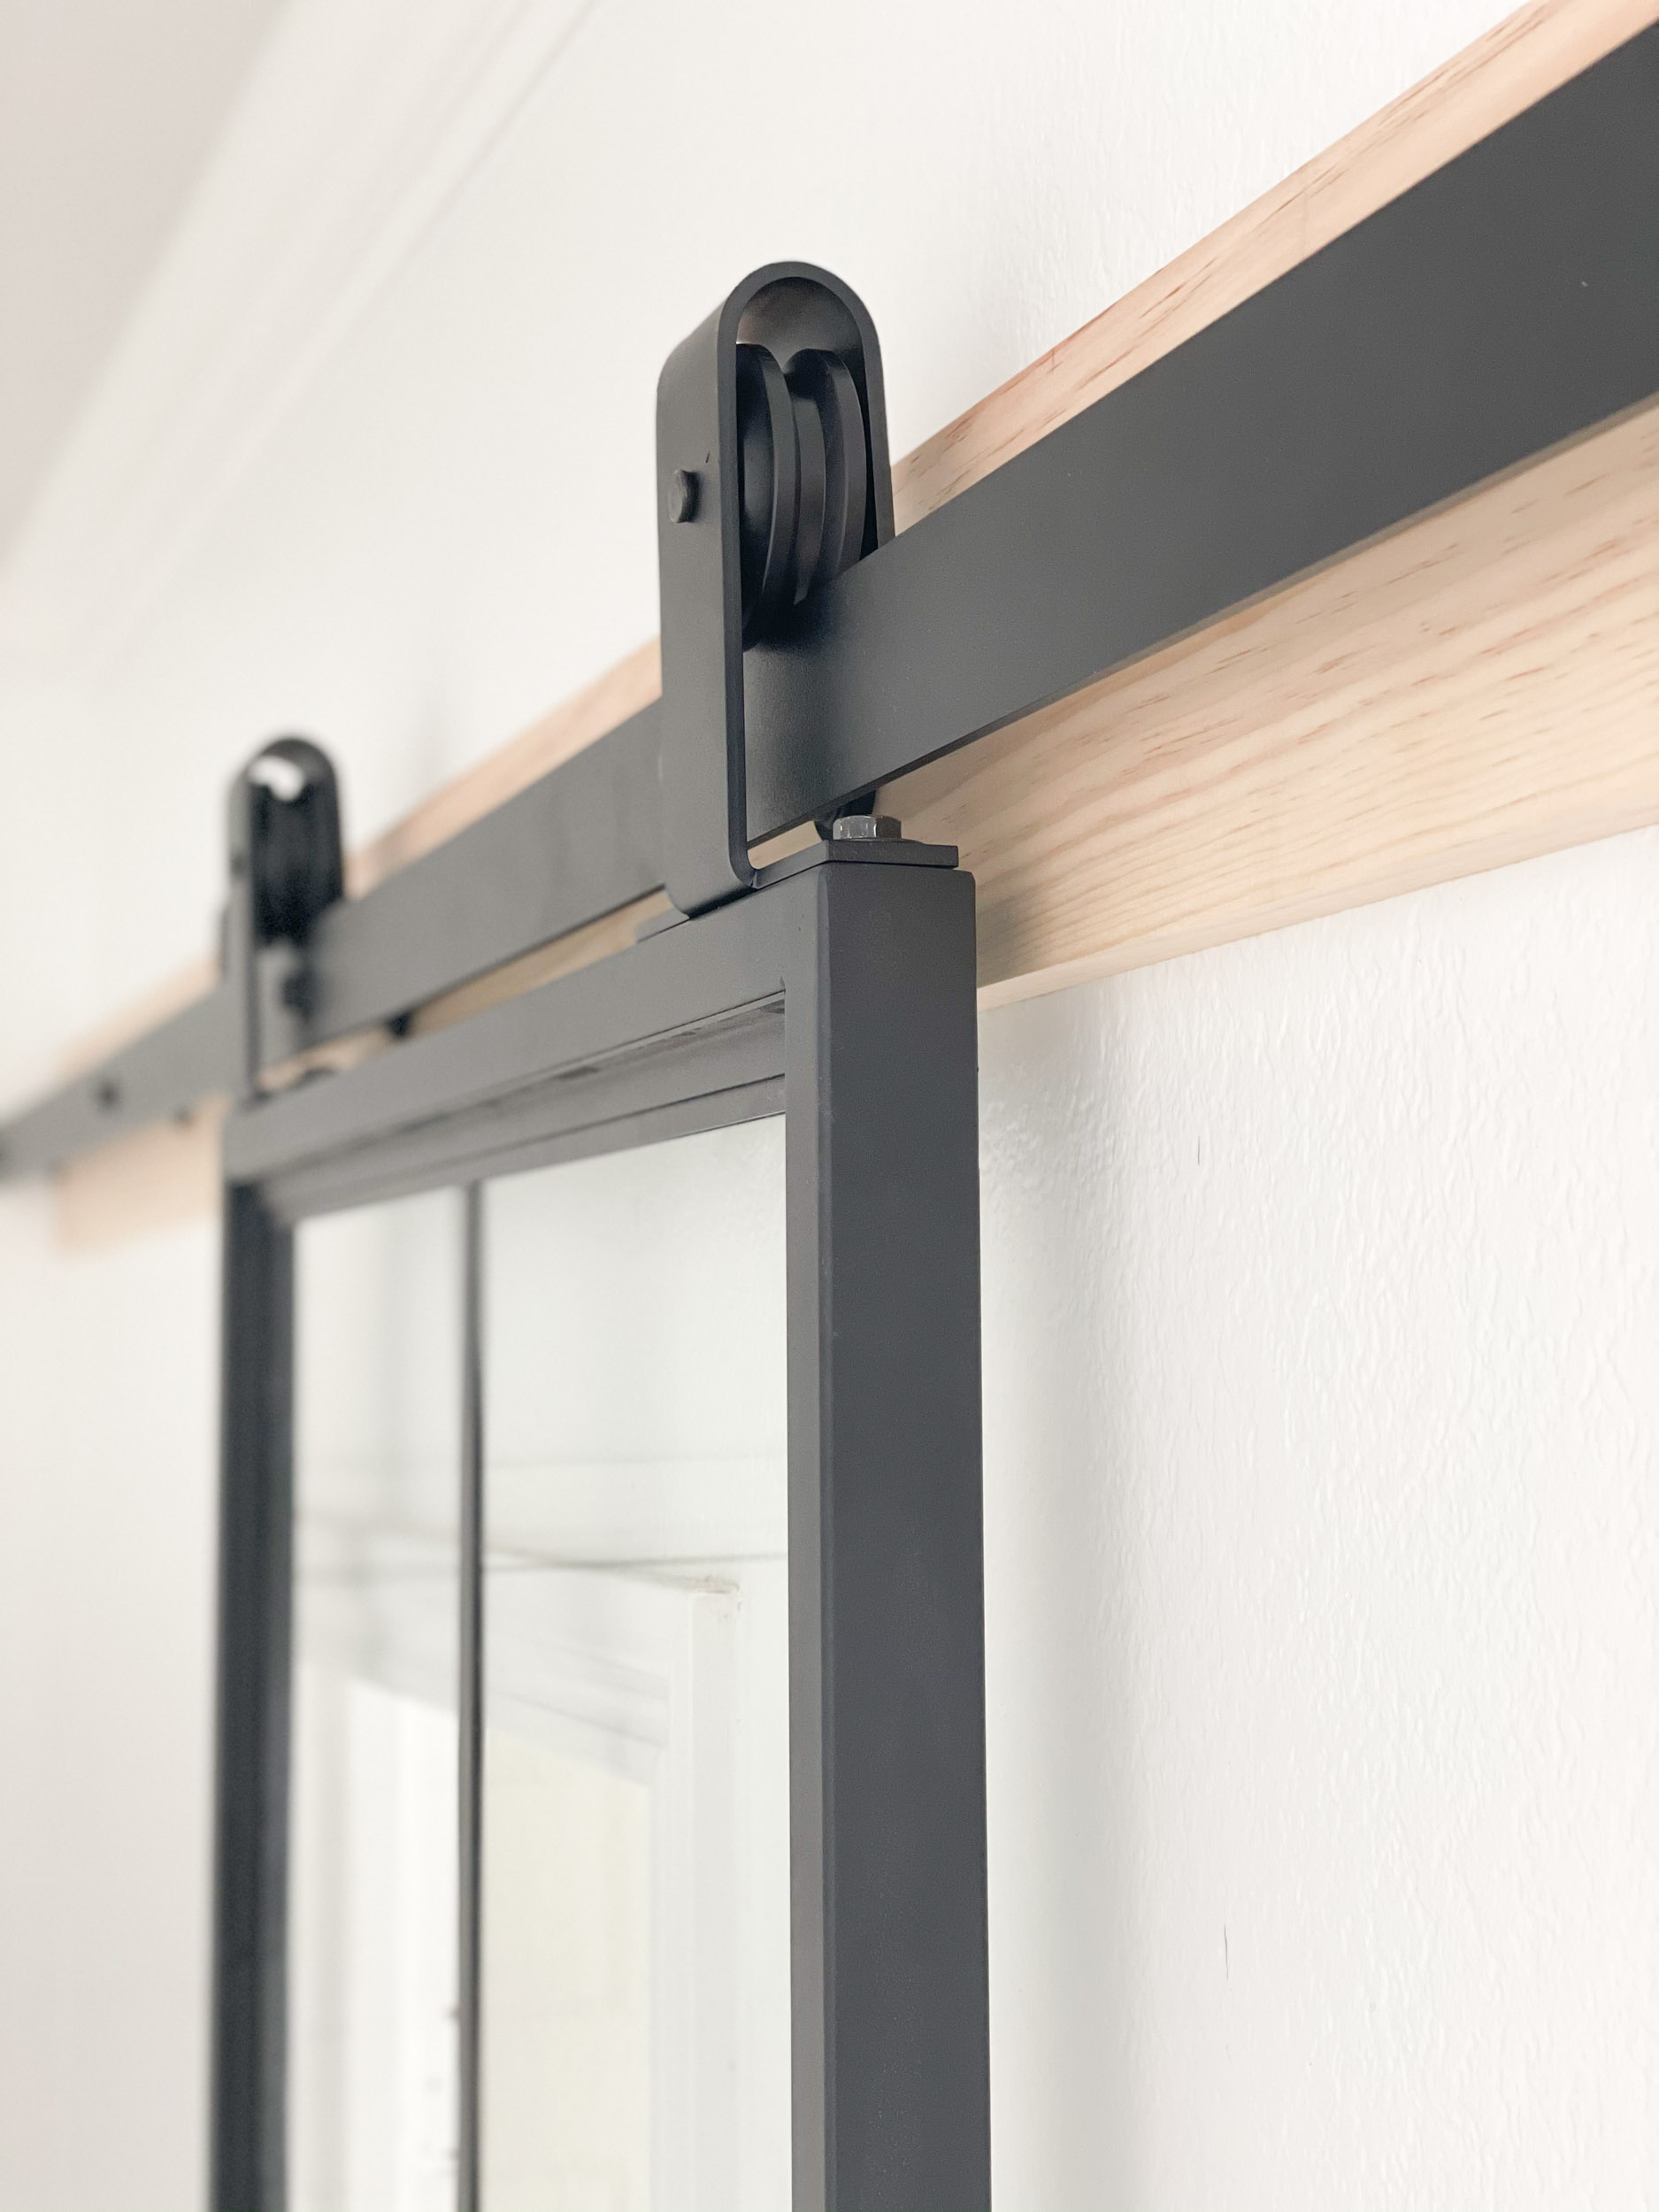
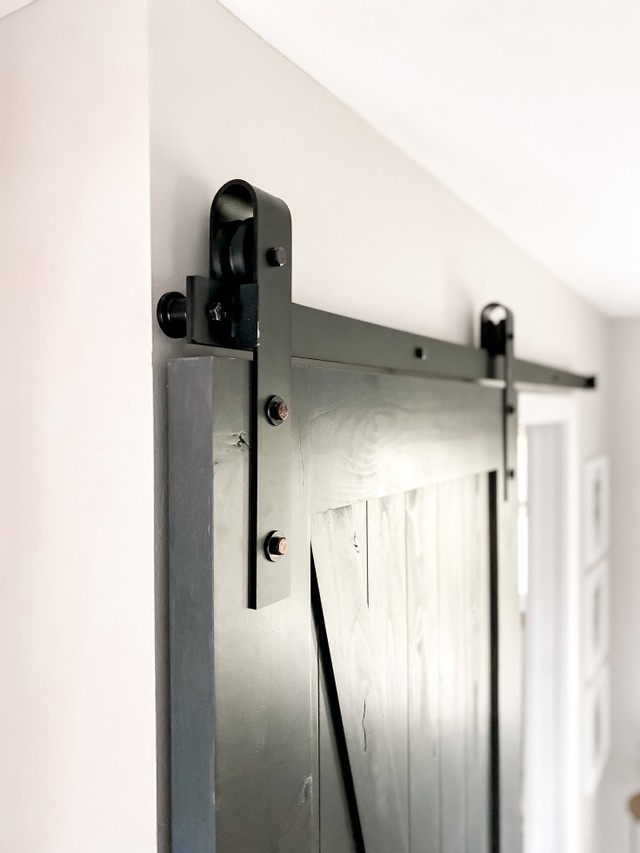
Another element to consider is whether or not you’re going to need a support header. Support headers are great for areas where you can't find studs or the studs don’t line up with where you want to install the barn door track. A support header will act as an anchor for the barn door and hardware system. If you’ve decided you are in need of a support header, take the track length you just configured and add four inches. This will give you two extra inches on each side of the barn door track to avoid any cracking or splitting during installation.
And that’s it! If you need any additional help or have any questions, don’t hesitate to ask! We have a full team of experts ready to help!
 |  |  |  |