How to Measure Bypass Barn Door Hardware
- Measure Left to Right of the Door Opening
- Find the Center Point of the Inside Track
- Make a Guideline for the Inside Track
- Make a Guideline for the Bypass Brackets
- Mark the Holes for Mounting the Inside Track
- Mark the Holes for Mounting the Bypass Brackets
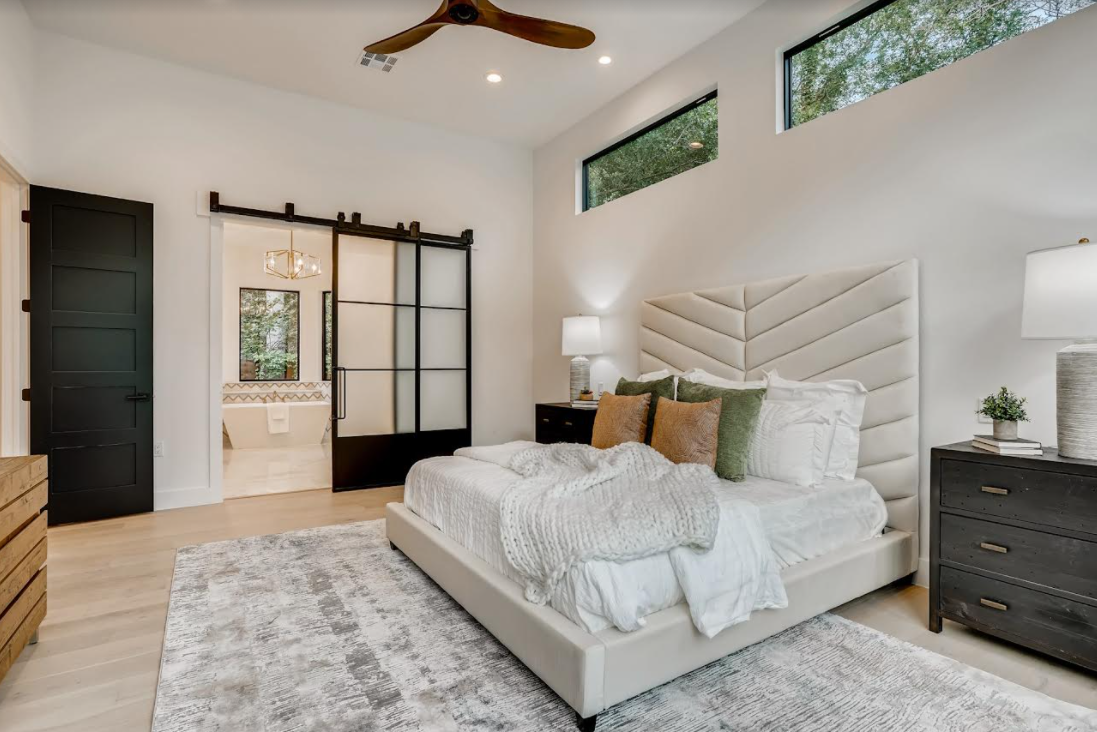
What is a Bypass Barn Door?
To better understand how to measure and install bypass barn door hardware, it helps to first understand exactly what a bypass barn door is.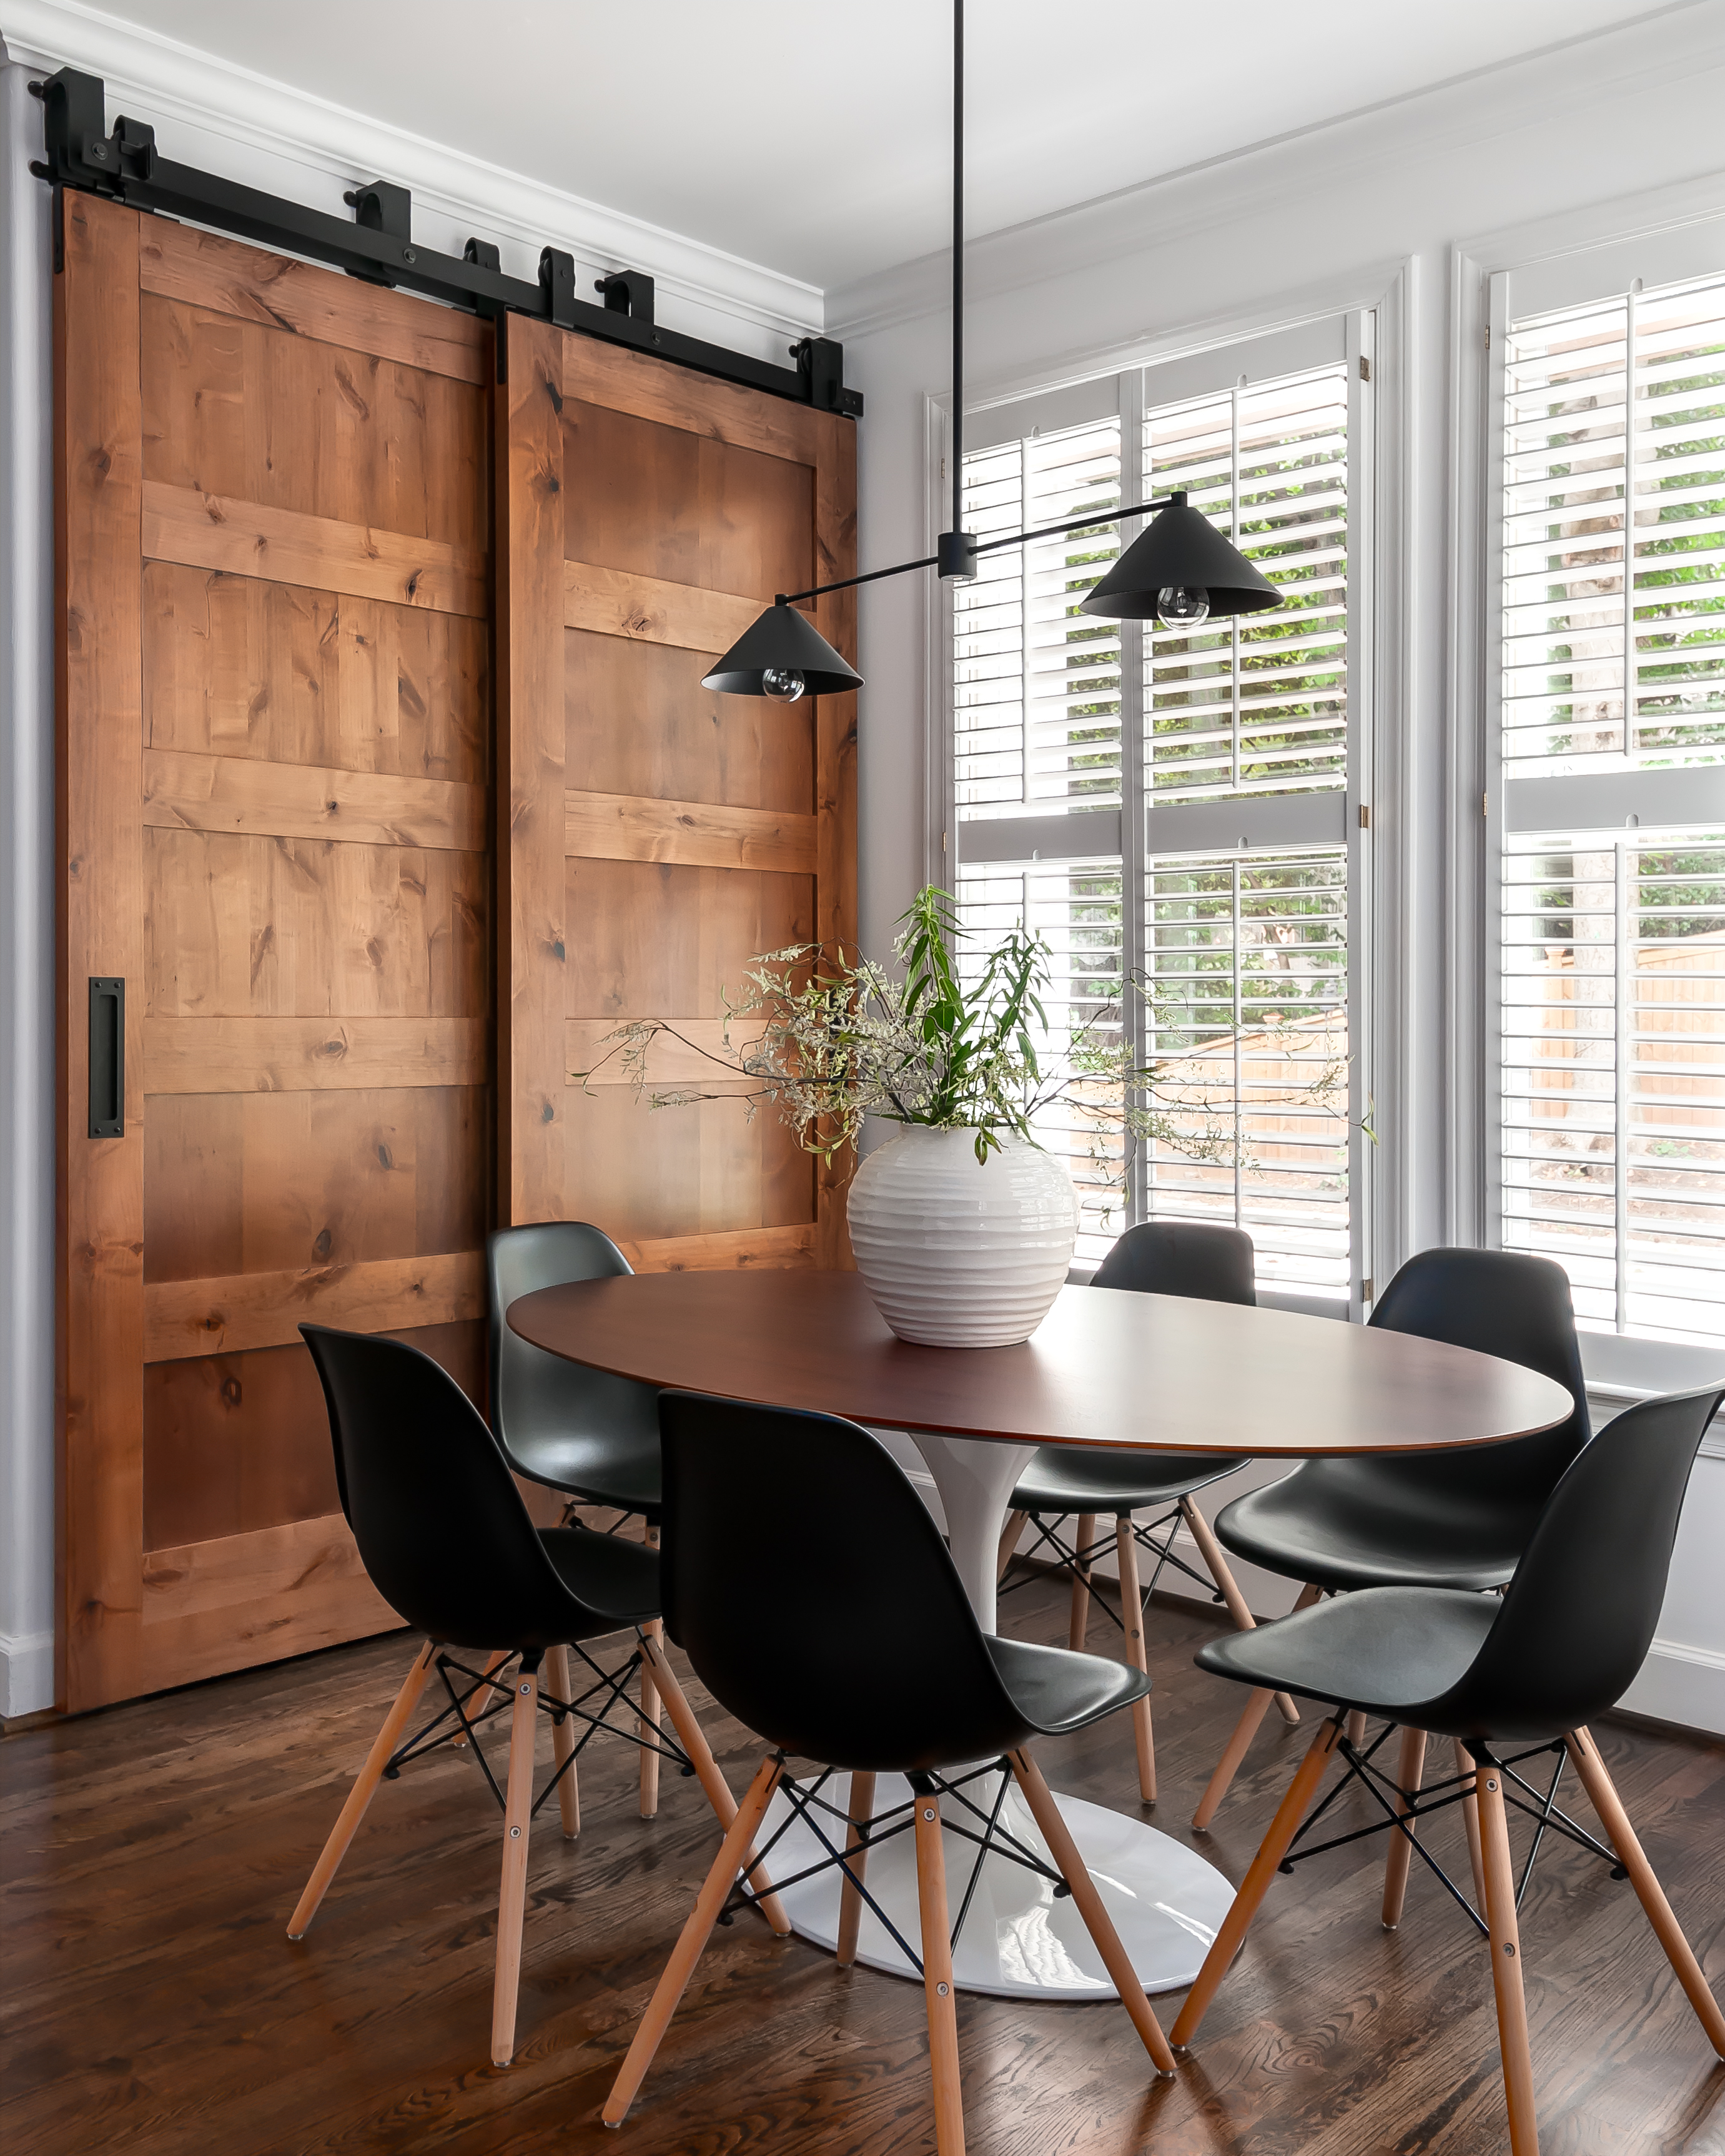 |  |
Bypass Barn Doors Offer a Unique Appearance
Besides their undeniable functionality, bypass barn doors offer a unique appearance and impart a rustic, yet modern flair to a room. Interior barn doors have become increasingly trendy in recent years, along with the emerging popularity of the modern farmhouse style.What is a Single Bypass Door?
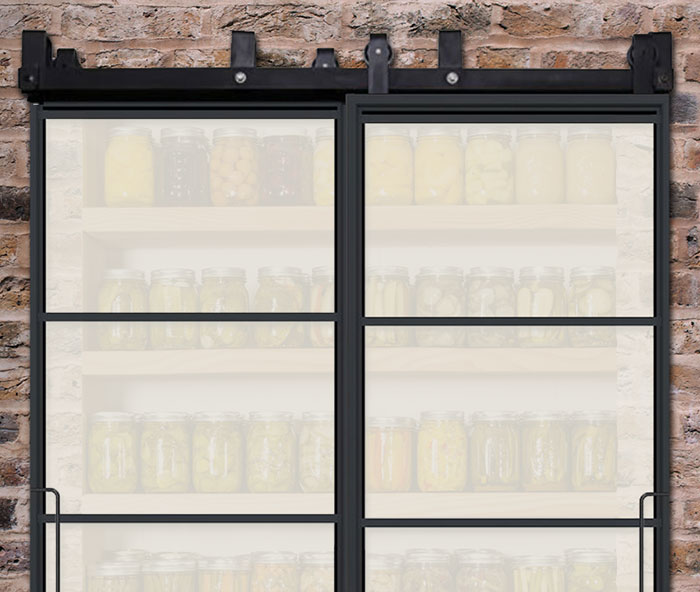
In simple terms, a single bypass barn door is a bypass door whose hardware is only as wide as the combined width of both bypass door panels. This means that whenever one sliding door panel is opened, it either conceals or is concealed by the other. While most people prefer the look of the single bypass door, this style limits a room’s access by allowing an opening of only one panel’s width at any given time.What is a Double Bypass Door?
Unlike the single track bypass door hardware, double bypass barn door hardware extends one panel’s length past either side of an entryway. This means that a double bypass door can be opened to reveal the full width of an entryway, allowing for double the access of a single bypass door. This also means that a double bypass door requires a great deal more clearance to install than a single bypass door. |  |
How Does a Bypass Barn Door Work?
To understand how a sliding bypass barn door works, let’s break down a typical bypass barn door hardware kit and explain the function of each piece:1. Bypass Tracks
Every bypass barn door hardware kit consists of two tracks: an inside track and an outside track. These tracks are mounted to a header board above a door frame. The tracks allow the traversal of the hangers, which are used to mount the wooden door panels. The tracks are also used to mount door stoppers. Bypass door tracks are almost always made of metal.2. Bypass Brackets
While the inside track is mounted directly to the header board, the outside track is suspended parallel to the inside track from the bypass bracket. The bypass brackets are mounted to the header board above the inside track at a precise measurement so that they overlap the inside track. When the outside track is mounted on the bypass bracket, both the inside and outside tracks should be level, so that one sliding door panel doesn’t hang lower than the other.3. Wheels
The wheels in a bypass door hardware kit allow the panels of the bypass barn door to slide back and forth along the tracks. Two sets of wheels are affixed to the tops of the hangers, the bottoms of which are, in turn, mounted to each door panel. The wheels are commonly made of polymer, allowing for smooth, frictionless traversal of the bypass tracks.4. Hangers
The hangers are used to attach the door panels to the wheels. Hangers are mounted to the door panels by screws or bolts. Because each hanger is mounted on a separate track, they bypass each other, creating a double sliding door that can open from both the right and left.5. Door Stoppers
The door stoppers are exactly what they sound like. Often made of metal with a rubber pad, door stoppers are mounted on the bypass racks at the location where the user would like the door panel to stop. When a door panel meets its corresponding door stopper, it ceases to slide.6. Door Panels
The door panels of a bypass door kit are most likely what you picture when imagining a bypass barn door. These are the two large, typically wooden panels that together form a double sliding door. The door panels are attached to the hangers so that they are allowed to slide left and right along the bypass tracks without bumping into one another.7. Floor Guide
The floor guide is attached to the floor and slides between a groove routed along the bottom of its corresponding door panel so that the panel doesn’t sway when sliding.8. Door Handle and Door Lock
While not always included with a bypass barn door hardware kit, barn door handles and locks can provide the functionality to a bypass barn door while also serving as accent pieces that round out the bypass door’s appearance. Often, to accommodate the closeness of the door panels, the door handle is inset, low-profile, or ring-styled.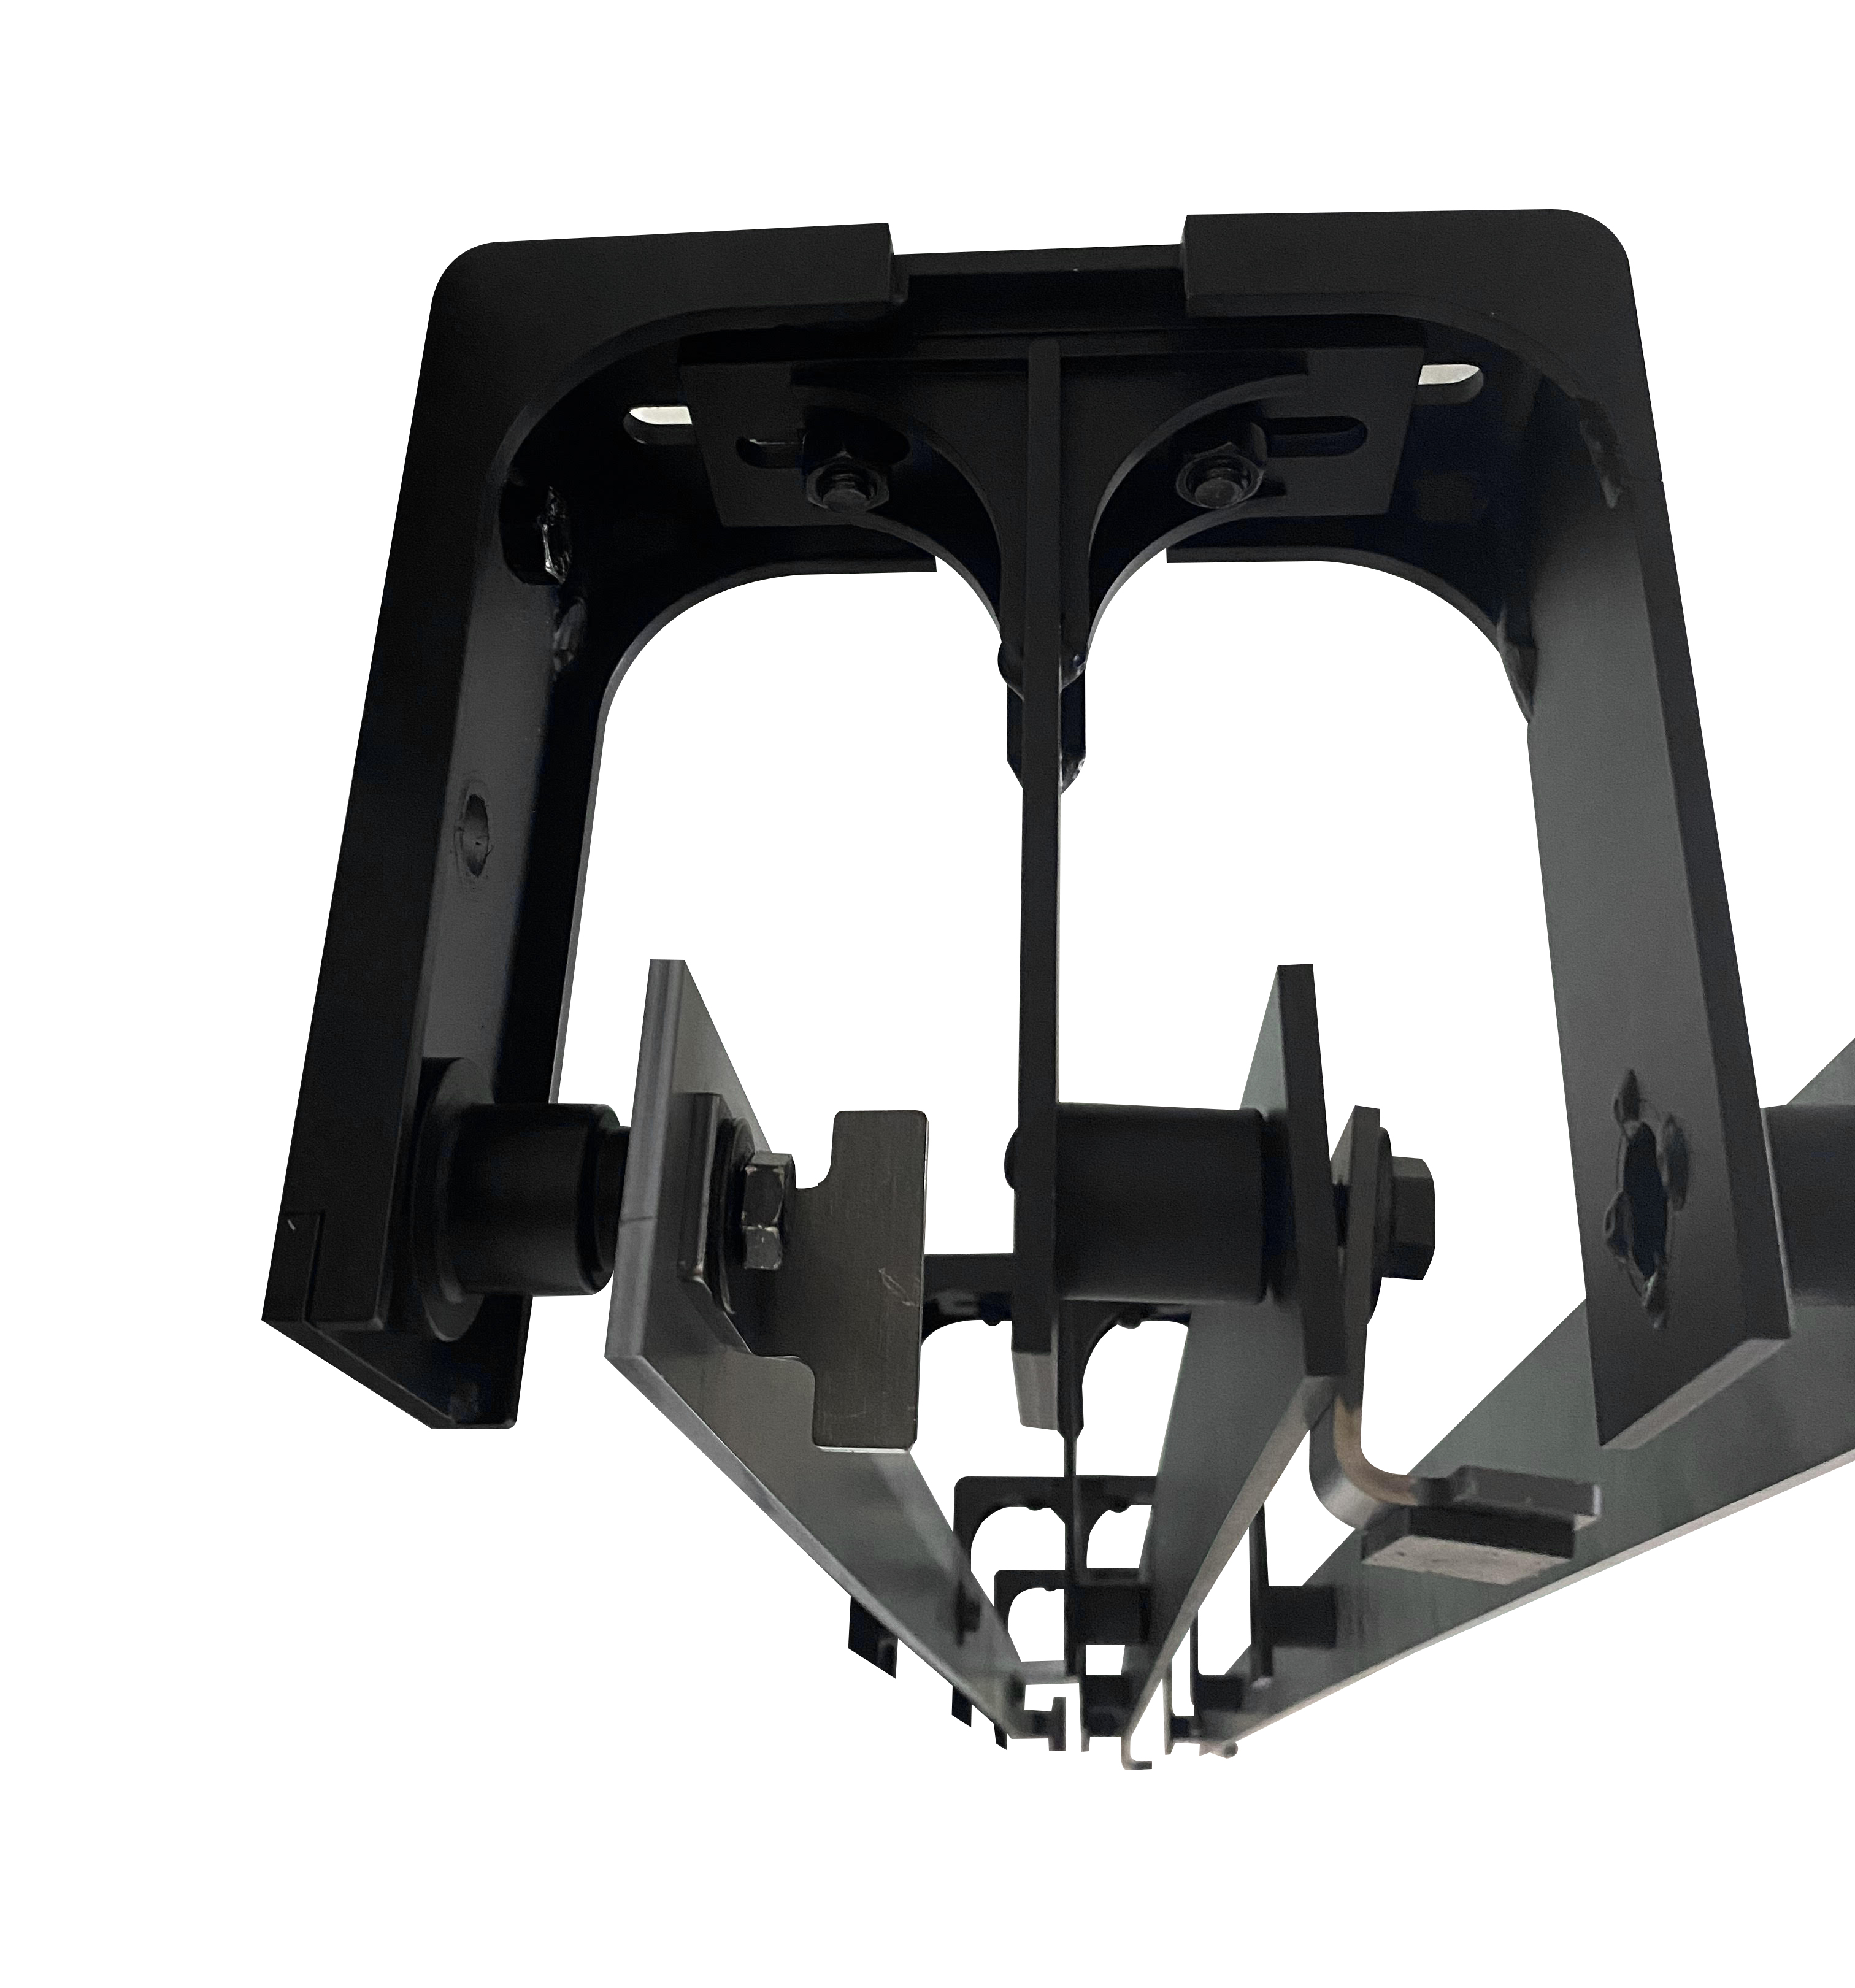
How to Measure for Bypass Barn Door Hardware
Before you measure your chosen entryway to begin mounting your bypass barn door hardware, there are a few items you will need. They are as follows:- Tape measure
- Pencil
- eight-foot level
1. Measure Left to Right on the Door Opening
To get a proper measurement, it’s important to maintain consistency. Always measure from the left of the door opening to the right.2. Find the Center Point of the Inside Track
Begin by measuring from the floor to the center point on the header board where you plan to mount the inside track. Mark this center point with your pencil on the left edge of the header board. Take the measurement again at the center of the header board, then take the measurement one last time on the right edge of the header board.3. Make a Guideline for the Inside Track
Align your eight-foot level so that the bottom edge runs along all three of the points you’ve previously marked on the header board. Make any necessary adjustments to ensure that the points are level. Using the bottom edge of the level as a guide, draw a line with your pencil.4. Make a Guideline for the Bypass Brackets
Measuring up from the first line, make two more lines with the level, parallel to the first. These lines will be used to mark the position of the bypass brackets.5. Mark the Holes for Mounting the Inside Track
Holding the inside track to the bottom line, mark the location of the spacer holes with your pencil.6. Mark the Holes for Mounting the Bypass Brackets
Holding your level vertically, mark the point on the second and third lines directly above each point on the first line.How to Install Bypass Barn Door Hardware
If you’ve taken the time to measure correctly, installing the bypass barn door hardware won’t be difficult. However, this is not a one-person job. When it comes to tasks such as leveling and mounting the bypass tracks and hanging the large wooden panels, we recommend seeking the help of at least one other person.- Tape measure
- eight-foot level
- Speed square
- Wood clamp
- Pencil
- Electric drill or screw runner
- Socket wrench
1. Drill Pilot Holes for Mounting Tracks
Using a ⅛” drill bit, drill pilot holes at the marked point along the pencil lines created in the recent section.2. Slide Door Stoppers onto the Inside Track
Don’t worry about fixing the door stoppers into place yet. We will do this at the end of the installation.3. Mount the Inside Track
With the assistance of your installation partner, align the inside track with the first pencil line. Then, place the spacers behind the track. Now, align the spacers with the pilot holes in the track and the pilot holes in the header board.Using either a hexagonal drill head or a socket wrench, screw the bolts through the pilot holes of the track and the spacers, and into the pilot holes in the header board.
4. Mount the First Part of the Bypass Brackets
Align the pilot holes of the first part of the bypass bracket with the corresponding pilot holes in the two pencil lines above the inside track.5. Connect the Second Part of the Bypass Brackets
Using the socket wrench, attach the second part of the bypass brackets to the first part.6. Align the bypass brackets and tighten them
Place the speed square against the edge of the bypass brackets and align them so that they are vertically square. Use the socket wrench to tighten the bolts of the bypass brackets.7. Mount the Outside Track
Using the track screws and spacers, mount the outside track to the bypass brackets. Next, tighten the screws.8. Mark the Pilot Holes for the Door Hangers
Using your speed square, mark the location of the pilot holes for the door hangers on the corners of the wood door panels.9. Install the Door Hangers
Align the pilot holes of the door hanger with the pencil marks. Next, secure the door hanger to the door panel with the wood clamp. Drill the pilot holes, and affix the door hanger with the hex bolts; tighten the nuts on the front of the door panel.10. Hang the Door
With the assistance of your installation partner, hang the wood door panels on the bypass tracks.11. Tighten Door Stoppers
Move the door stoppers to the position where you wish the door panels to stop, then tighten the door stoppers to fix them into position.12. Plumb the Door Panels
Use your eight-foot level to plumb the door panels.13. Mount the Floor Guide
Once you’ve plumbed the door panels, use the edge of the eight-foot level to mark the desired location of the floor guide. Now, affix the floor guide to the floor by running screws through the pilot holes located on the flared bottom of the floor guide.You will receive more in-depth installation instructions specific to your bypass barn door model when you order your bypass barn door hardware from BarnDoorHardware.com.
 |
How Much Should Bypass Barn Doors Overlap?
When installing a sliding bypass barn door, there are a few general rules to keep in mind.The most important rule is that the door panels should always overlap when closed. The last thing you want is a large, unsightly gap between your bypass barn door panels.
The door panels should also not be too much wider than the door opening, lest the resulting appearance of the bypass barn door looks odd and uneven. This is why it’s important to measure correctly before purchasing your bypass barn door hardware to ensure that your door panels and hardware are the appropriate sizes.
So, how wide should your bypass barn door be?
As a general rule of thumb, the combined width of the wood door panels should equal the width of the door opening, plus one inch. If this is the case, when the outer edges of the door panels are flush with the inner edges of the door frame, the inner edges of the panels should overlap each other by at least a half-inch. There may be some variation depending on the door manufacturer and the particulars of a home’s construction, but the width of the overlap shouldn’t vary too much.
In addition to the half-inch overlap, the door panels of your bypass barn door should close so that one is concealed perfectly behi


